How to sew a gorgeous reversible top for an 18 inch doll


This doll's completely reversible top is easy to make but a little bit fiddly. However it is worth persevering with it as the end result is superb. I do not like raw edges, so worked out a way to have neat finishes with no raw edges at all.
Materials needed:
2 fat quarters. (will also do the skirt) Cotton or polycotton fabrics
Velcro, press studs or snaps for fastening. I have used velcro, as I find that it is easier for little ones to dress their dolls.
How to:
Use 1/4 inch seam allowance throughout. For each step, backstitch at the beginning and end to ensure the stitches stay put. (vital for the many turnings needed to complete the top)
1. Download and cut the pattern. Then cut the fabric. Cut one front (cut on the fold) and two backs, once from the main fabric, and again from the reverse/lining fabric.


2. Pin at the shoulders. Then sew. Do that for both fabrics.

3. Place the 2 fabrics together, right sides facing. Match the seams. Pin around the neck. Sew.


4. Do the same thing with the armholes.

5. Turn the top the right way.

6. Press carefully.

7. Pin the sides matching the seams. Sew.


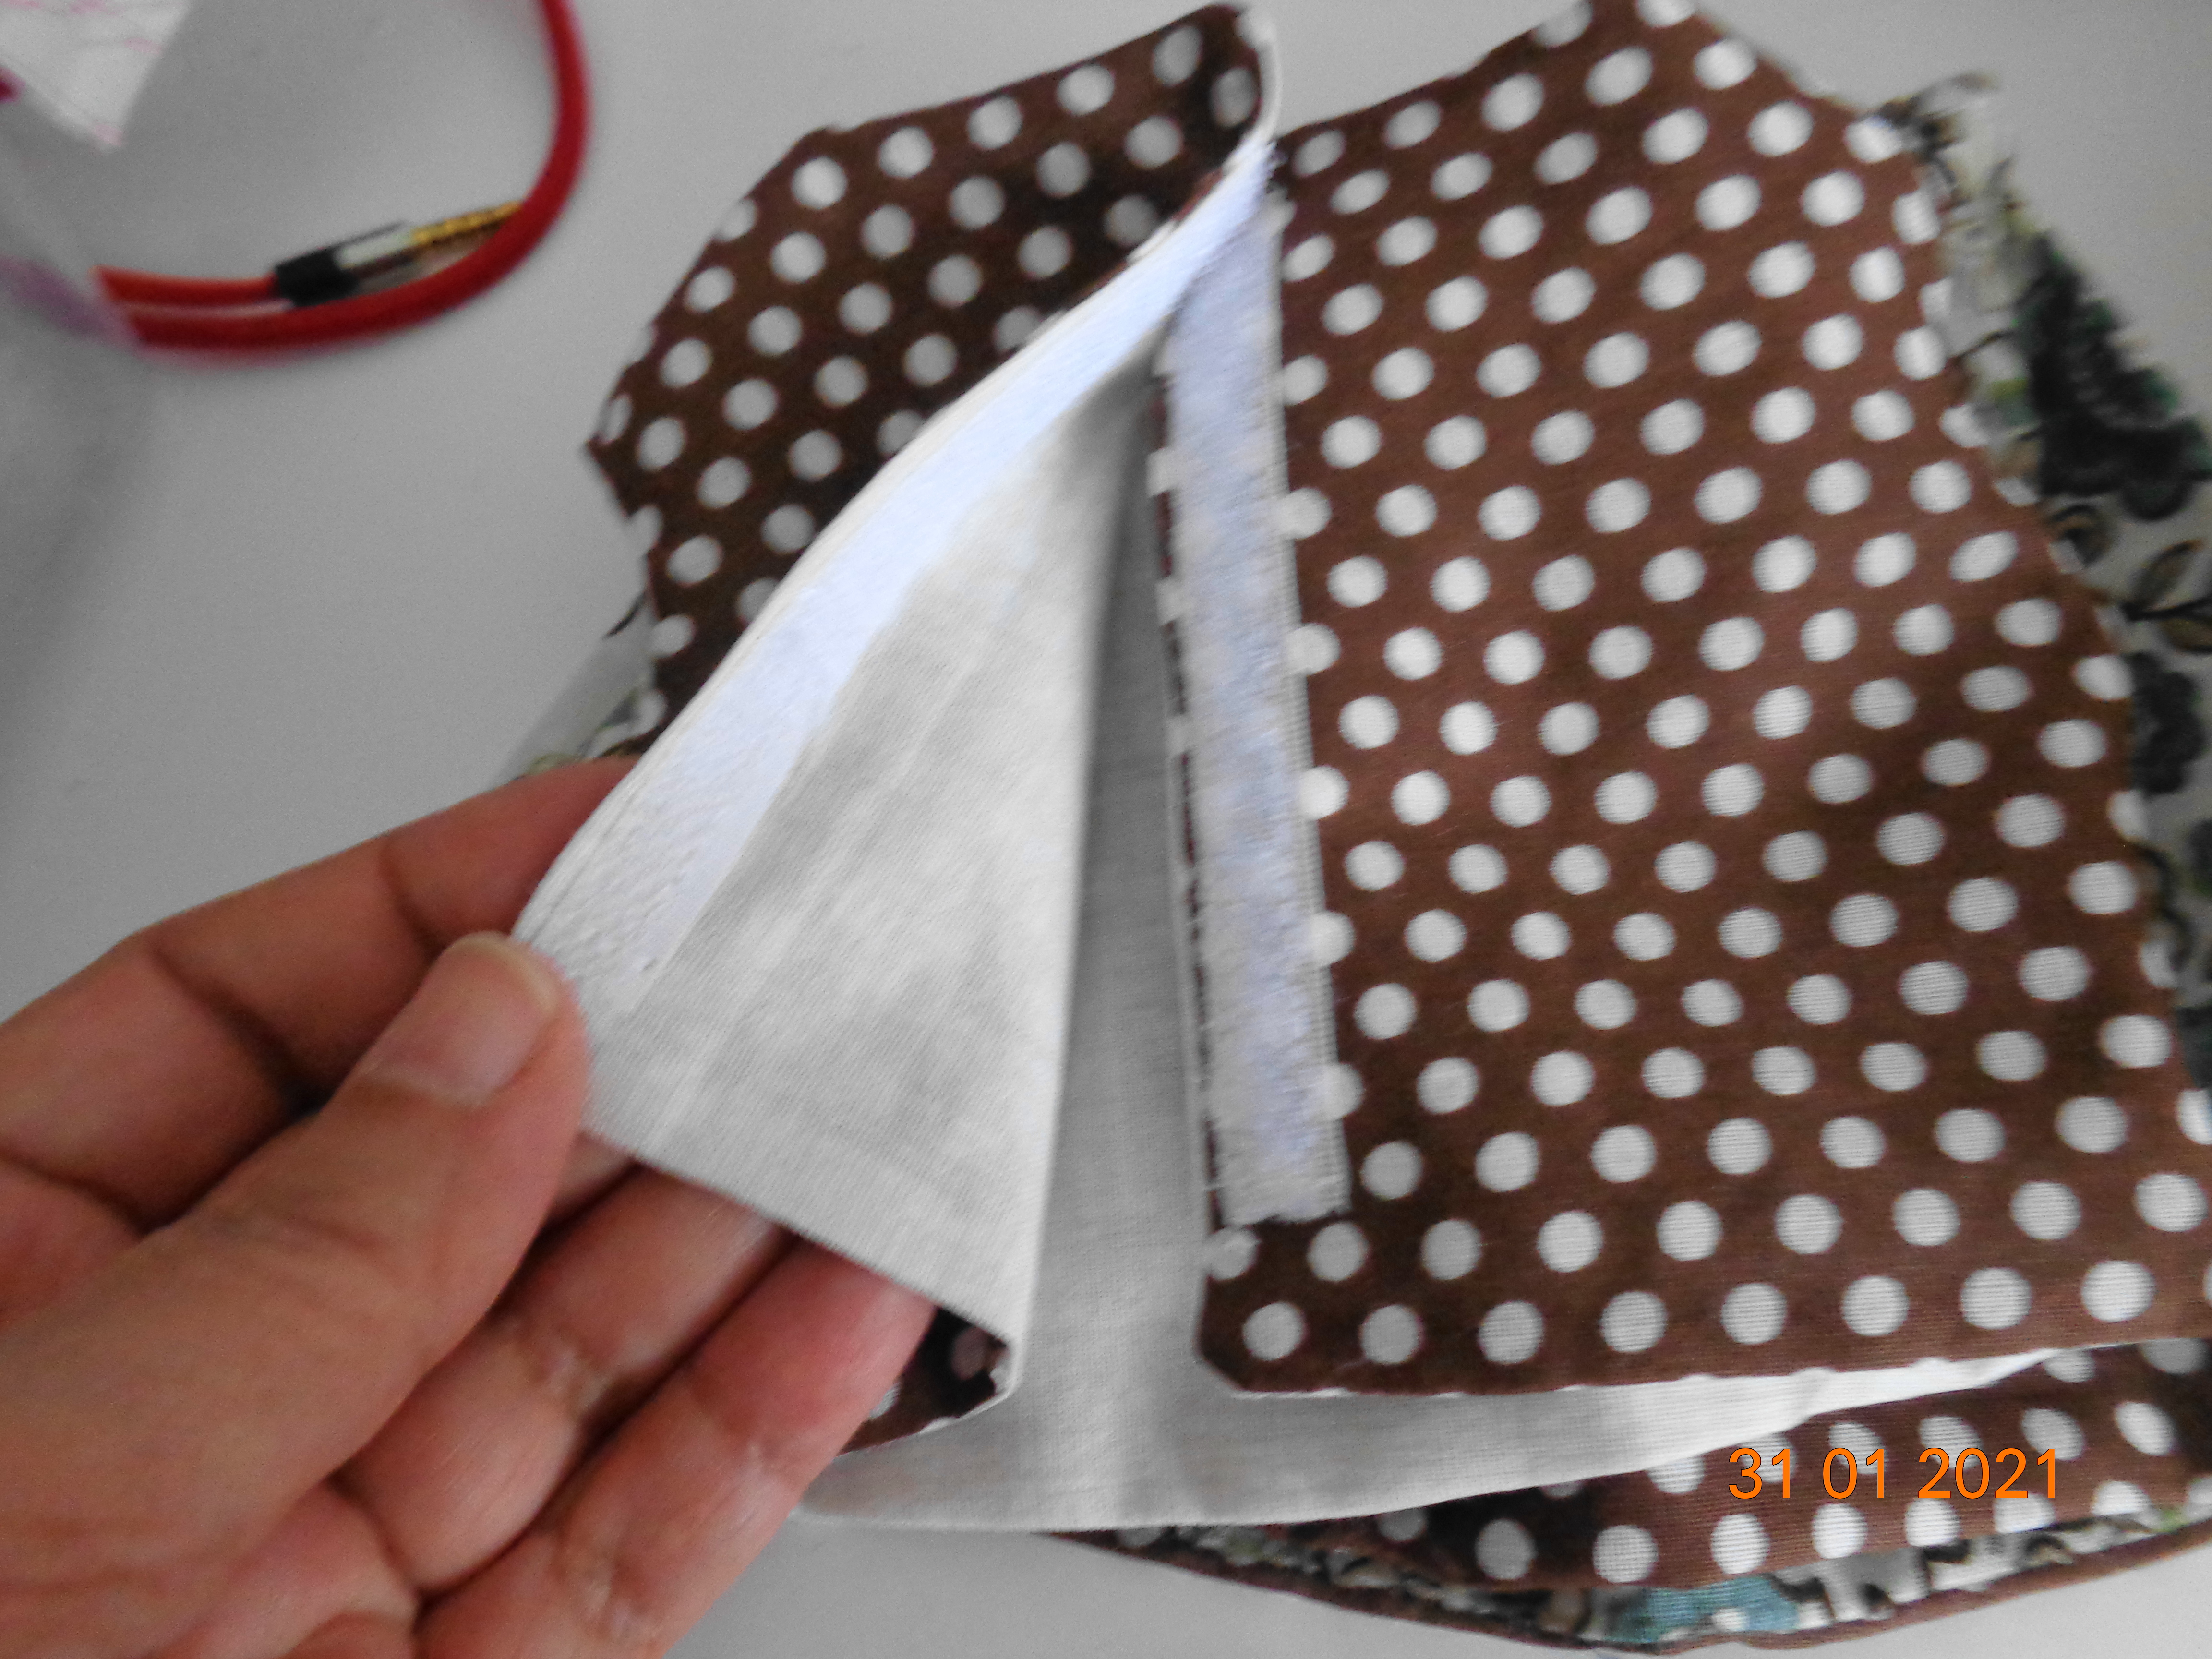
8. Pin the bottom edges of the top together, right sides facing. Start at the side seams and carry on along the edge. Then pin up the back edges. Make sure that the edges meet. Leave a gap of around 2 inches for turning on one of the edges.


9. Sew from one neckline down the back edge, along the bottom edge, up the other side to the other neck line. Make sure to leave the turning gap.

10. Using the turning gap, turn the top the right way round.

11. Use something pointy to push out the corners and straighten the edges.
12. Press.

Voila! Your top is finished. Let me know how yours turns out.


Comments
Post a Comment