How to sew a nappy with velcro fastening for a 14 to 16 inch doll
How to sew a nappy with velcro fastening for a 14 to 16 inch doll
You will need two pieces of fabric , 13 x 9 inches, one for the outer part and one for the lining
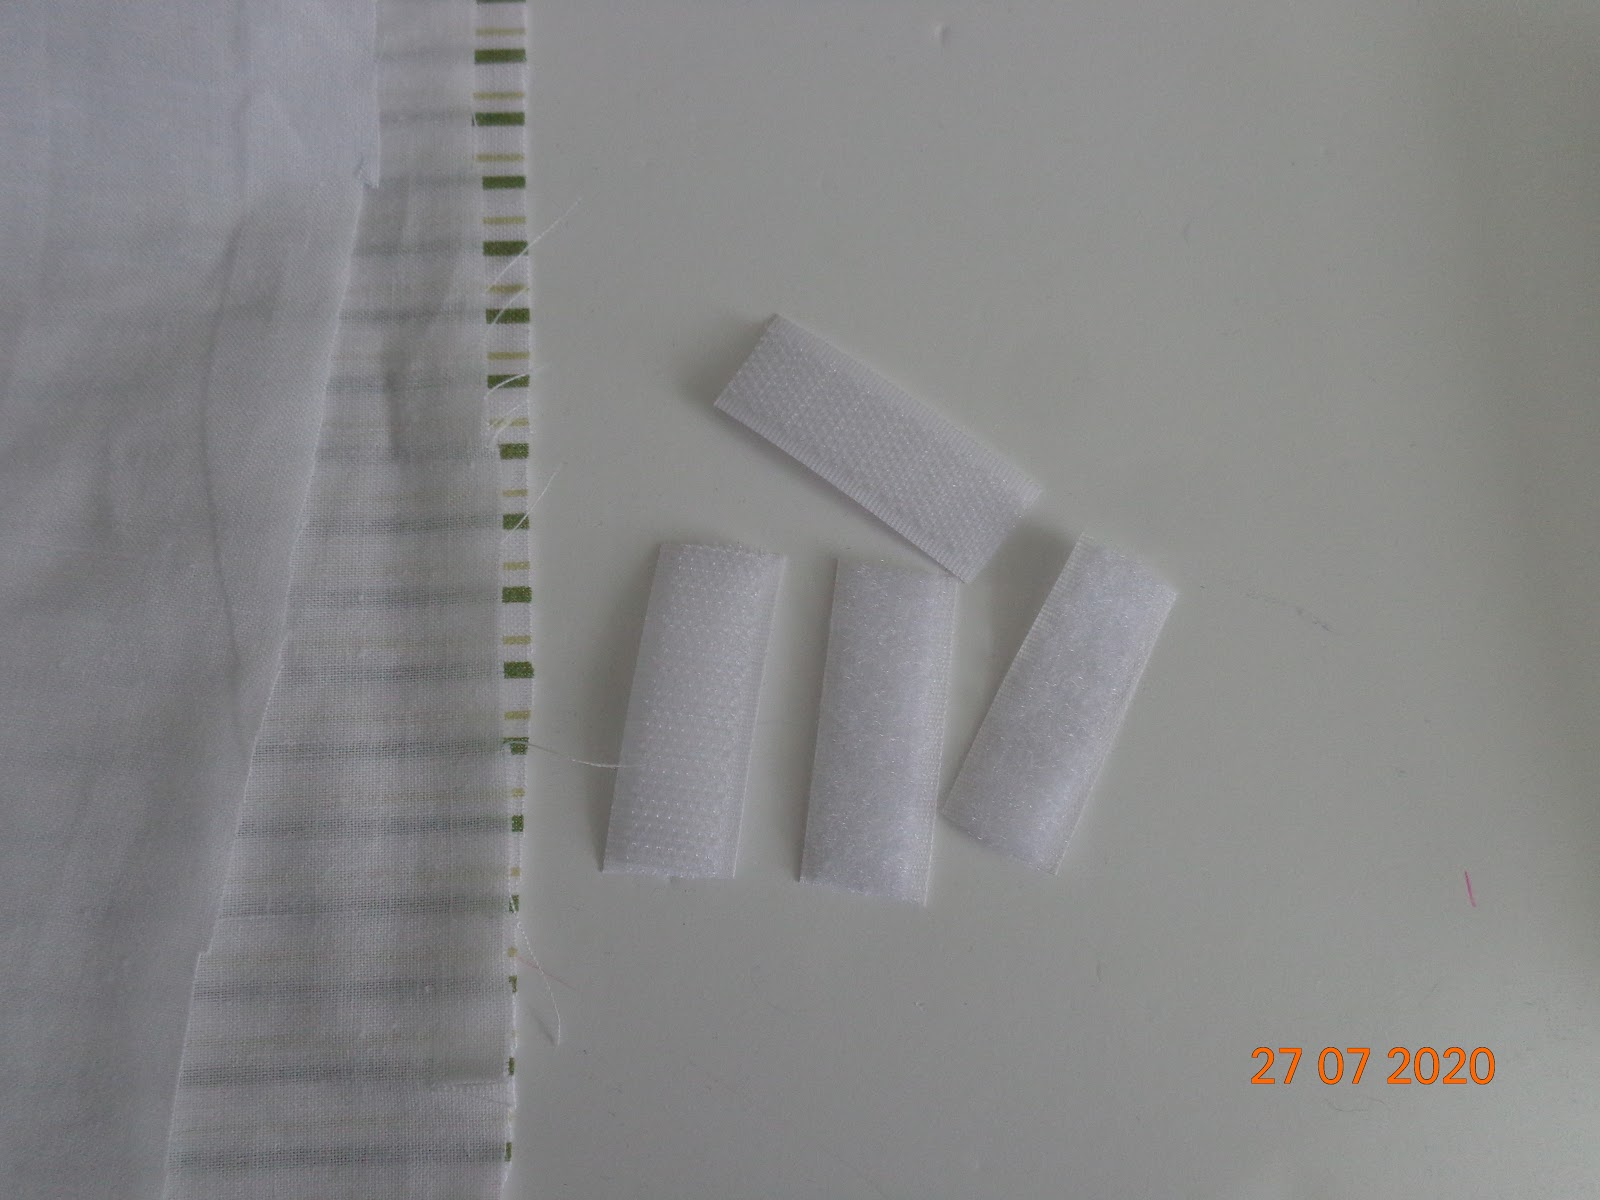
Velcro - 2 inches for each side


This project is tiny, so can be sewn by hand if wished.
The template requires 1/4 inch seam allowance to be added along the outer edges. I usually draw around the template when making my nappies. I then sew along the drawn line and when the sewing is finished, I cut out the nappy, leaving the seam allowance. But if people prefer, they can add the seam allowance and sew accordingly.


You will need two pieces of fabric , 13 x 9 inches, one for the outer part and one for the lining
Velcro - 2 inches for each side

This project is tiny, so can be sewn by hand if wished.
The template requires 1/4 inch seam allowance to be added along the outer edges. I usually draw around the template when making my nappies. I then sew along the drawn line and when the sewing is finished, I cut out the nappy, leaving the seam allowance. But if people prefer, they can add the seam allowance and sew accordingly.

- Print and cut the pattern.
- Transfer the pattern onto a fabric of your choice, using a heat erasable pen or similar.

- Mark a gap at the top of around 3 inches, to be left unsewn for turning the nappy out.


- Sew along the marked outline, leaving the turning gap at the top.
- Cut all excess fabric, leaving around a 1/4 inch seam allowance. I use pinking shears, but if using scissors, you will need to cut into the bends to make the curves turn out easily.

- Sew along the top edge, 1/8 inch from the edge. That will close the turning gap, as well as giving a more finished look to the top.

- Sew the velcro pieces.

- You're done.


Downloading the template: Below is the link to the template.
1. Cut out the template. Add a 1/4 inch seam allowance if preferred. I usually just draw around the template, sew along the outline then cut my seam allowance afterwards.
2. leave a gap of between 2 to 3 inches at the top for turning out.
3. The template can be drawn once then turned over to draw the other half to make a complete nappy template. I use mine as it is, draw one side then flip it to draw the other side.


Comments
Post a Comment